


My studio captures northern light. This is essential, as the absence of direct sunlight guarantees that the room is always softly and diffusely lit. A further advantage is the shadows are unchanging.

The primed panel is covered with a thin layer of a fine gray colour, to break the white of the primer or gesso. This enables me to assess the tones and hues more accurately.
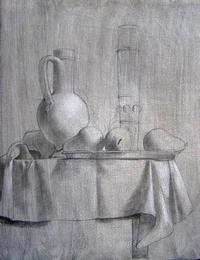
Then I make a precise pencil sketch, not down to the finest detail, but already with shadows and perspective to provide some idea of the composition.
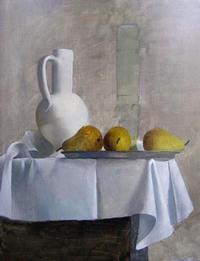
The next phase is the "underpainting": I apply a first layer of oil paint, diluted with turpentine.
The objects in the painting are already represented in colour and with shadows, but without attention to detail.
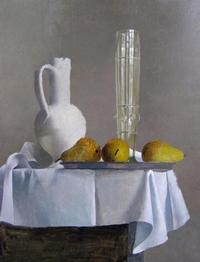
The composition is worked up: one by one, the objects are painted, starting with the background and working forward.
First, I apply stand oil to the object I'm going to paint. This makes the paint more fluid so that the colours blend more easily, and it also gives a nice glossy finish after drying.
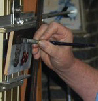
In this phase, I paint wet-in-wet with a medium of turpentine, stand oil and resin.
Now, the objects are worked out in fine detail, but because of the viscosity of the stand oil, I only apply the finishing touches after a brief period of drying.
After a drying period of about a week, I apply retouching varnish to the painting. This revives matt areas and restores colours in all their glory.